Repainting kitchen cabinets can transform your space. It’s a cost-effective way to refresh your kitchen.
If you’re wondering how to repaint kitchen cabinets, you’re in the right place. This guide will walk you through each step, ensuring a smooth and successful project. Repainting your cabinets can seem daunting, but with the right approach, it’s entirely manageable.
You’ll learn about the necessary tools, materials, and techniques to achieve a professional finish. Whether you’re a DIY enthusiast or a beginner, this guide will help you give your kitchen a fresh, updated look without breaking the bank. Ready to get started? Let’s dive into the process of repainting your kitchen cabinets.
Preparing The Area
Preparing your kitchen for a cabinet repaint is crucial. It ensures a smooth process and protects your kitchen from damage. Let’s break down the steps needed to prepare your kitchen area properly.
Clearing The Kitchen
First, remove all items from the kitchen. Empty the cabinets and drawers. This makes it easier to paint and prevents items from getting paint splatters.
- Take out dishes, utensils, and food items.
- Move appliances like the toaster and blender.
- Store these items in another room.
Next, remove hardware. Unscrew handles, knobs, and hinges. Keep these parts in a labeled container. This makes reassembly easier.
Protecting Surfaces
Protecting surfaces is essential to avoid damage. Cover countertops, floors, and appliances with drop cloths or plastic sheets.
| Surface | Protection Method |
|---|---|
| Countertops | Drop cloth or plastic sheet |
| Floors | Drop cloth or painter’s paper |
| Appliances | Plastic sheet |
Use painter’s tape to secure coverings. This prevents them from moving. Also, tape around edges of cabinets. This ensures clean lines when painting.
By following these steps, you create a clean, safe workspace. This allows for a smooth painting process and a professional finish.
Removing Cabinet Doors And Hardware
Repainting kitchen cabinets can transform your kitchen space. The first step is removing cabinet doors and hardware. This step ensures a smooth and professional finish. Properly removing the doors and hardware prevents damage. It also makes the painting process easier and cleaner.
Labeling Doors And Hardware
Before removing the doors, label each one. Use masking tape and a marker. Write a unique number for each door. This step helps you remember where each door belongs. Label the corresponding hardware too.
For example:
- Door 1 – Hinge 1, Knob 1
- Door 2 – Hinge 2, Knob 2
This method prevents confusion later. It ensures each piece returns to its original place.
Storing Safely
After labeling, store the doors and hardware safely. Place the doors on a flat surface. Use a soft cloth or blanket to prevent scratches. Arrange the doors in order. This helps during reinstallation.
Use small bags or containers for the hardware. Label each bag with the corresponding door number. This step keeps everything organized. It also prevents loss of small parts.
| Item | Storage Method |
|---|---|
| Cabinet Doors | Flat surface with soft cloth |
| Hinges and Knobs | Labeled bags or containers |
Following these steps will make the painting process smoother. It also ensures a professional finish for your kitchen cabinets.
Cleaning And Sanding
Cleaning and sanding are crucial steps for repainting kitchen cabinets. Proper preparation ensures a smooth and long-lasting finish. Neglecting these steps can lead to peeling paint and uneven surfaces. Let’s dive into the process.
Degreasing Cabinets
Begin by removing all cabinet doors and drawers. Use a degreaser to clean each surface. Kitchen cabinets often accumulate grease and grime over time. A clean surface allows the new paint to adhere better.
Mix a solution of warm water and a few drops of dish soap. Use a sponge to scrub the cabinets. Make sure to rinse off any soap residue with clean water. Allow the cabinets to dry completely before moving on to the next step.
Sanding Surfaces
Sanding is vital for a smooth finish. It helps the paint stick to the surface. Use a medium-grit sandpaper (around 120-grit) to sand all surfaces lightly. Focus on removing any rough spots or old paint.
For detailed areas and corners, use a sanding sponge or a small piece of sandpaper. After sanding, wipe down the surfaces with a damp cloth to remove dust. Ensure the cabinets are dry before painting.
If there are any deep scratches or holes, fill them with wood filler. Sand the filled areas once dry. Consistency is key for a professional look.

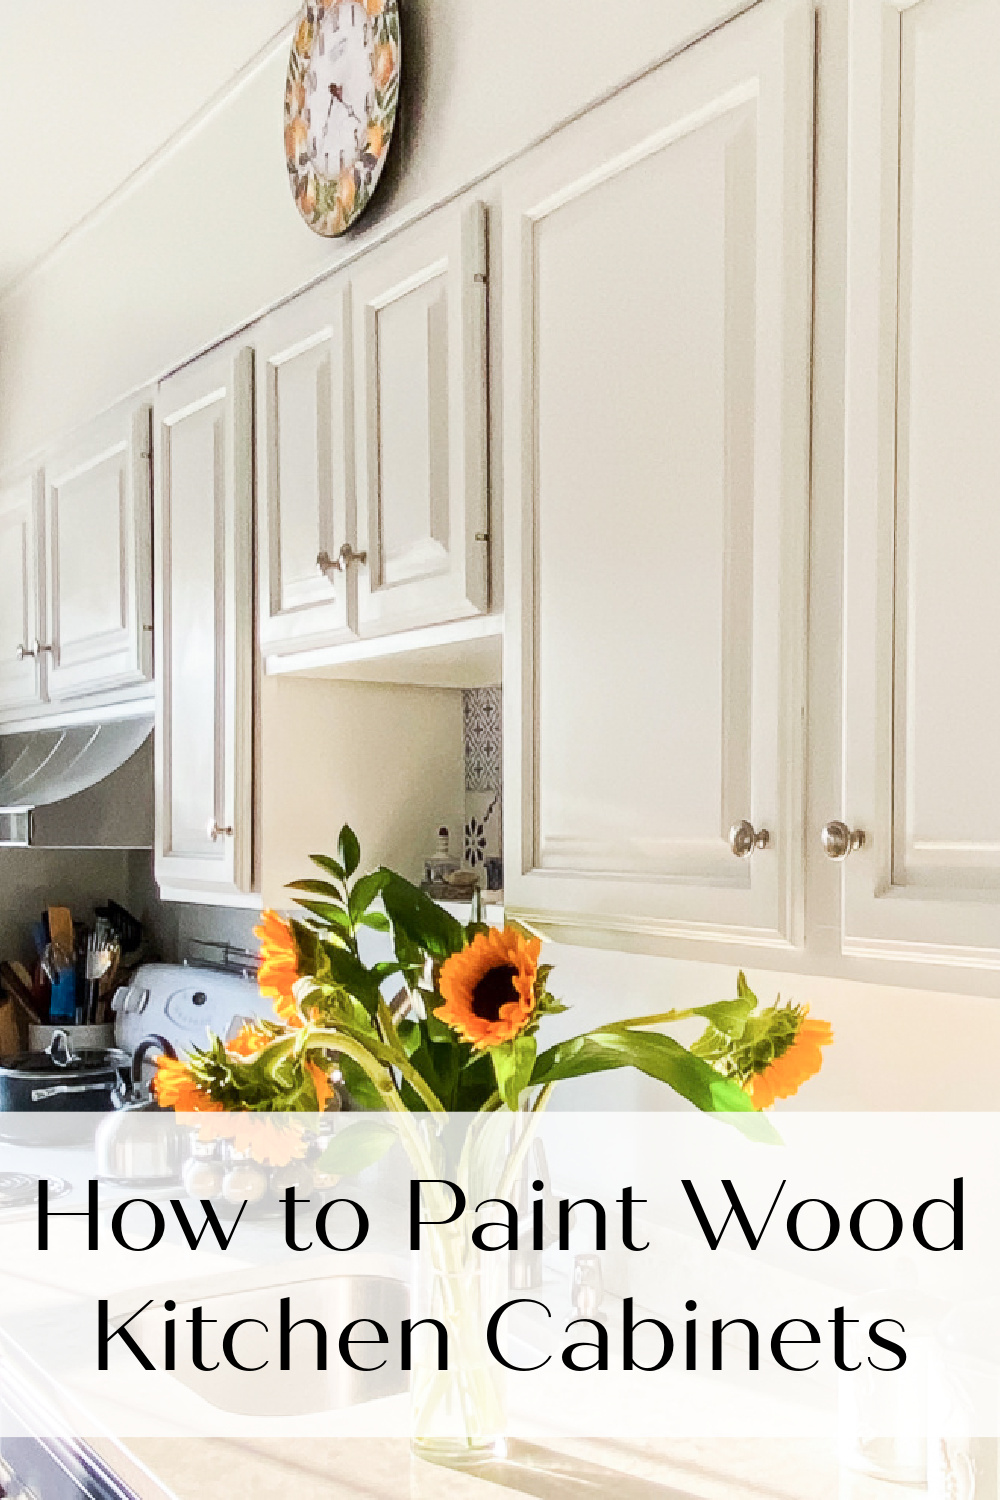
Credit: www.northcountrynest.com
Priming The Cabinets
Priming the cabinets creates a smooth base for paint. It ensures even coverage and improves paint adhesion. Always use a high-quality primer for the best results.
Priming kitchen cabinets is a crucial step in the repainting process. It ensures a smooth finish and helps the paint stick better. Using the right primer can make all the difference. Here’s how to get it right.
Choosing The Right Primer
Choosing a primer depends on the cabinet material. For wood cabinets, use an oil-based primer. This type seals the wood and prevents stains from bleeding through. If you have laminate cabinets, opt for a bonding primer. Bonding primers adhere well to slick surfaces.
Always check the primer label. Ensure it’s compatible with your topcoat paint. If in doubt, ask a paint expert at your local store. They can guide you to the best option.
Applying Primer
Start by cleaning the cabinets thoroughly. Remove grease and dirt with a degreaser. Let the cabinets dry completely. Next, use a brush for edges and corners. For larger areas, use a roller. Apply an even coat of primer. Avoid drips and thick layers.
Let the primer dry as per the manufacturer’s instructions. Usually, this takes a few hours. After drying, inspect the surface. Look for rough spots or drips. Sand these areas lightly with fine-grit sandpaper. Wipe off any dust with a damp cloth.
Applying primer properly ensures a smooth base for paint. It helps the final finish look professional and lasts longer.
“`
Painting The Cabinets
Repainting your kitchen cabinets can give your kitchen a fresh look. It is a cost-effective way to update your space. This task may seem daunting, but with the right tools and techniques, you can achieve a professional finish. This section will guide you through the process of painting the cabinets, ensuring a smooth and beautiful result.
Selecting Paint
Choosing the right paint is crucial for a durable and attractive finish. There are many options available, but not all paints are suitable for kitchen cabinets.
Here are some tips for selecting the best paint:
- Semi-gloss and high-gloss finishes are ideal. They are easier to clean and more resistant to stains.
- Latex or oil-based paints are both good choices. Latex paint is easier to work with and dries faster. Oil-based paint offers a smoother finish and is more durable.
- Consider using a primer first. This will help the paint adhere better and last longer.
Techniques For Painting
Proper technique is essential for achieving a smooth, professional look. Follow these steps to paint your cabinets effectively:
- Preparation: Remove all doors and hardware. Clean the surfaces thoroughly to remove grease and dirt.
- Sanding: Lightly sand the surfaces to create a smooth base. Use fine-grit sandpaper for the best results.
- Priming: Apply a coat of primer to all surfaces. Allow it to dry completely before painting.
- Painting: Use a high-quality brush or roller. Apply thin, even coats of paint, allowing each coat to dry before applying the next.
- Finishing: Once the final coat is dry, reattach the doors and hardware. Touch up any areas as needed.
By following these steps and using the right materials, you can transform your kitchen cabinets with a fresh coat of paint. This DIY project can significantly enhance the look of your kitchen without breaking the bank.
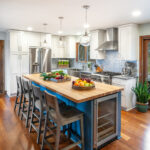
Credit: myfamilythyme.com
Reattaching Doors And Hardware
Once you’ve finished painting, it’s time to reattach the cabinet doors and hardware. This step is crucial for ensuring your kitchen looks polished and complete. Properly reassembling and adjusting the doors makes a big difference.
Reassembling Cabinets
Start by reattaching the hinges to the cabinet frames. Use a screwdriver to secure them tightly.
- Align the hinges with the pre-drilled holes.
- Ensure the hinges are level and straight.
- Tighten screws but avoid over-tightening.
Next, attach the doors to the hinges. It’s helpful to have someone hold the door while you secure the screws. This prevents misalignment.
| Step | Action |
|---|---|
| 1 | Hold the door in place. |
| 2 | Insert screws into hinge holes. |
| 3 | Tighten screws carefully. |
Adjusting Doors
After reassembling, you might need to adjust the doors. Uneven doors can affect the overall look.
- Check the alignment of each door.
- Adjust the hinges as needed.
- Use a level to ensure doors hang straight.
Adjusting hinges is simple. Loosen the screws slightly, reposition the door, then retighten. Repeat until the doors are perfectly aligned.
Finally, reattach the hardware. This includes knobs and handles. Align them with the pre-drilled holes. Secure them with screws. This step adds the finishing touch.
Reattaching doors and hardware may seem tedious, but it’s worth the effort. Your kitchen will look fresh and updated.
Final Touches
Repainting your kitchen cabinets can be a rewarding project. After painting, the final touches make a big difference. This step ensures a smooth and professional finish.
Inspecting The Finish
Carefully inspect the cabinets for any imperfections. Look for drips, bubbles, or uneven areas. Gently sand any rough spots. Use fine-grit sandpaper for best results.
Check the corners and edges. Make sure the paint covers evenly. If needed, apply a second coat. Let it dry completely. Patience is key for a flawless finish.
Cleaning Up
Once the paint is dry, it’s time to clean up. Remove any tape used for masking. Dispose of it properly. Clean your brushes and rollers. Use soap and water for water-based paint. Use mineral spirits for oil-based paint.
Wipe down the cabinets. Remove any dust or debris. Use a soft cloth to avoid scratching the new paint. Your kitchen should now be clean and ready for use.
Maintenance Tips
Maintaining your freshly repainted kitchen cabinets extends their life. Proper care keeps them looking new. Follow these easy maintenance tips to ensure your cabinets stay in great condition.
Cleaning Cabinets
Regular cleaning is crucial. Dust and grease can build up quickly. Use a soft, damp cloth to wipe down surfaces weekly. Avoid abrasive cleaners; they can damage the paint.
For stubborn stains, mix a mild dish soap with warm water. Gently scrub the area with a soft sponge. Rinse with clean water and dry with a soft towel.
Touch-up Paint
Keep some leftover paint for touch-ups. Chips and scratches happen over time. Use a small brush to apply a thin layer of paint. Let it dry completely before using the cabinet again.
For larger areas, lightly sand the spot before painting. This ensures the new paint adheres well. Apply a primer if needed, then follow with the touch-up paint.
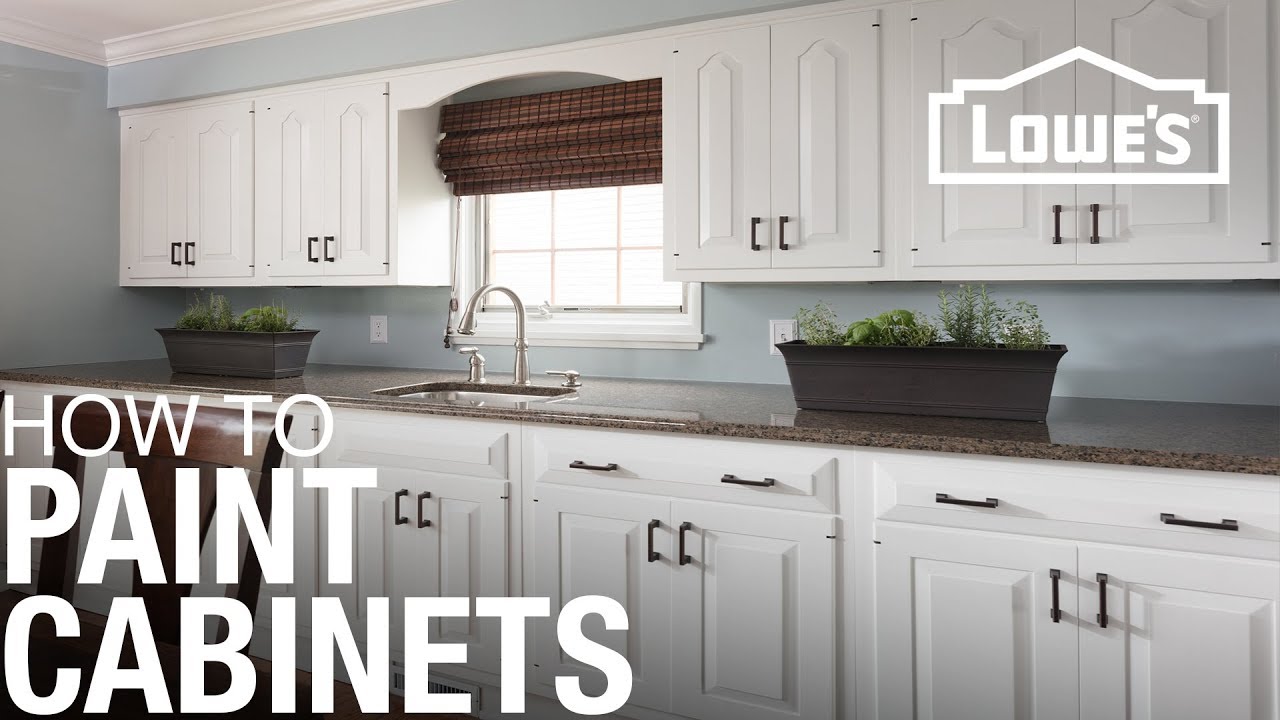
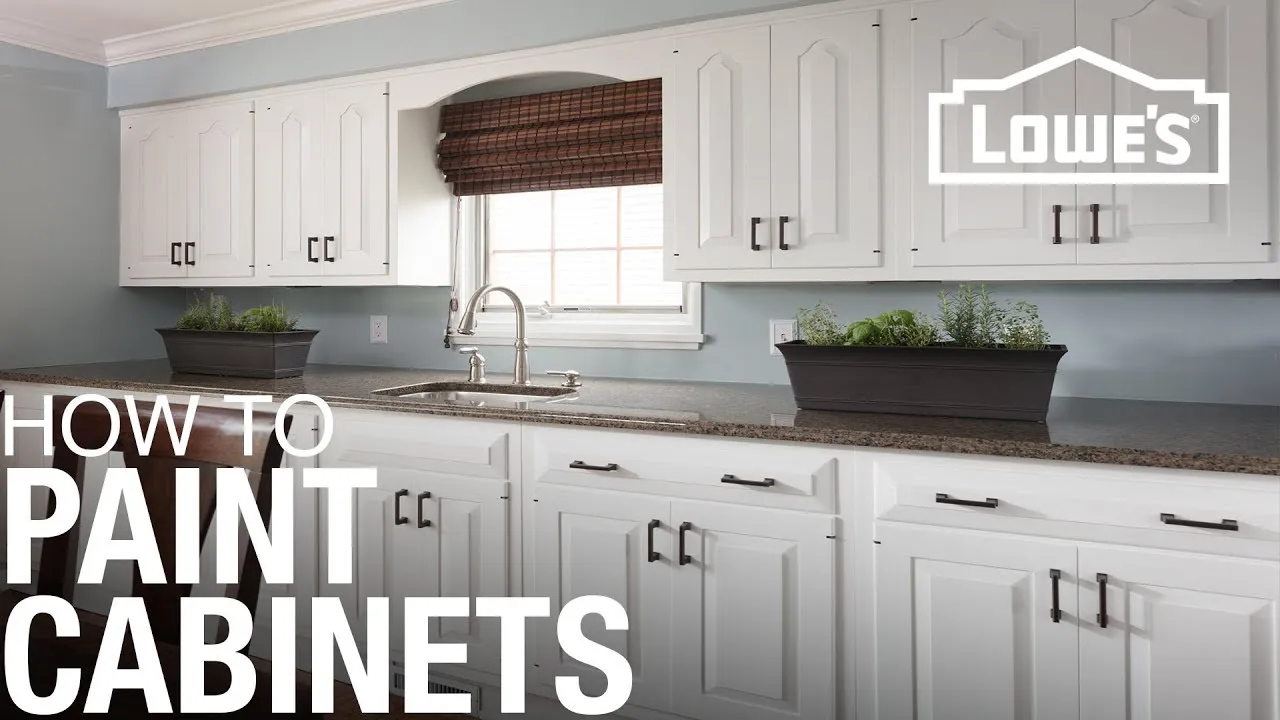
Credit: www.lowes.com
Frequently Asked Questions
How Do I Prepare Cabinets For Repainting?
First, remove all cabinet doors and hardware. Clean them thoroughly to remove grease and dirt. Sand the surfaces lightly to ensure the paint adheres well. Wipe off dust with a damp cloth.
What Type Of Paint Is Best For Kitchen Cabinets?
Use a high-quality, semi-gloss or satin finish paint. These types are durable, easy to clean, and provide a smooth finish. Oil-based paints are also an option but require more ventilation.
Do I Need A Primer Before Painting Cabinets?
Yes, applying a primer is essential. It helps the paint adhere better and ensures a smoother finish. Use a high-quality, stain-blocking primer for best results.
How Many Coats Of Paint Do Kitchen Cabinets Need?
Typically, two coats of paint are sufficient. Apply the first coat and let it dry completely before adding the second. This ensures even coverage and a professional-looking finish.
Conclusion
Repainting kitchen cabinets can transform your space. It’s a budget-friendly project. Take your time with each step. Clean, sand, prime, and paint for best results. Choose durable paint for long-lasting beauty. Enjoy your refreshed kitchen look. Happy painting!